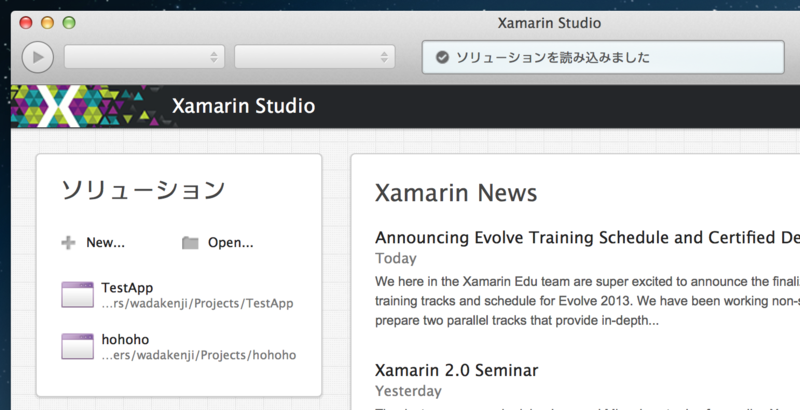
Xmarin Studioを起動すると、Visual Studioのようにプロジェクトを作成するウィザードが立ち上がる。今回は、Mac用のHelloWorldアプリを作成してみましょう。
Xamarin Studioを起動して、ソリューションから[New]を選択します。
ウィザードには、Xamarin.MacとMonoMacがあります。
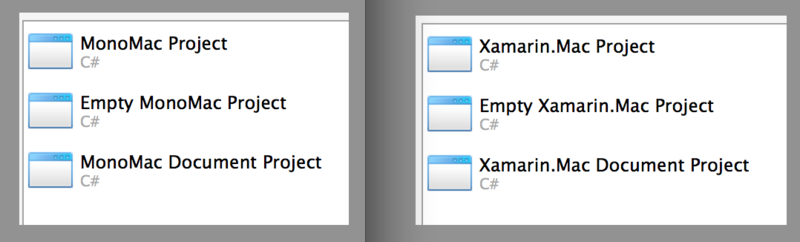
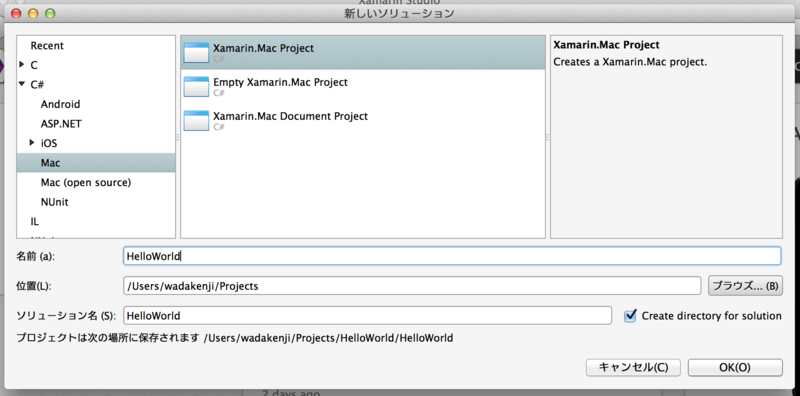
「初めてのMac向けC#開発環境「Xamarin.Mac」:特集:Macアプリ開発を体験しよう!(1/3 ページ) - @IT」によれば、Xamarin.MacはMonoMacの上位互換で使えるAPIが多いようです。安直に使えるAPIは多い方が良いと思ったので、「Xamarin.Mac Project」を選択します。プロジェクトの名前は「HelloWorld」としました。
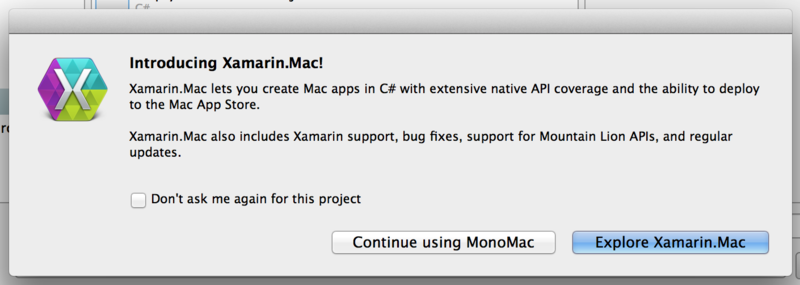
[Explore Xamarin.Mac]をクリックすると、ライセンス周りの話が表示されます。
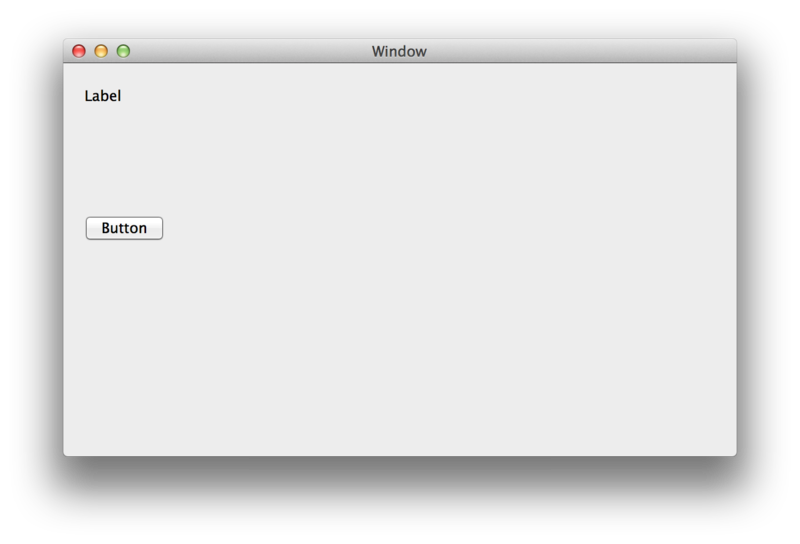
MainWindow.xibをダブルクリックすると、Xcodeが起動してデザイナー(InterfaceBuilder?)が表示されます。iOSアプリを作る感覚でラベルとボタンをポトペタします。
// WARNING
// This file has been generated automatically by Xamarin Studio to
// mirror C# types. Changes in this file made by drag-connecting
// from the UI designer will be synchronized back to C#, but
// more complex manual changes may not transfer correctly.


#import <Cocoa/Cocoa.h>
#import <Foundation/Foundation.h>


@interface MainWindowController : NSWindowController {
	NSTextField *_Label;
	NSButton *_Button;
}

@property (nonatomic, retain) IBOutlet NSTextField *Label;

@property (nonatomic, retain) IBOutlet NSButton *Button;

@end
いつものように一通りの作業を終えて、Xcodeを閉じると、Xamarin Studio側で「MainWindows.designer.cs」を自動生成します。
// WARNING
//
// This file has been generated automatically by Xamarin Studio to store outlets and
// actions made in the Xcode designer. If it is removed, they will be lost.
// Manual changes to this file may not be handled correctly.
//
using MonoMac.Foundation;

namespace HelloWorld
{
	[Register ("MainWindowController")]
	partial class MainWindowController
	{
		[Outlet]
		MonoMac.AppKit.NSTextField Label { get; set; }

		[Outlet]
		MonoMac.AppKit.NSButton Button { get; set; }

		void ReleaseDesignerOutlets ()
		{
			if (Label != null) {
				Label.Dispose ();
				Label = null;
			}

			if (Button != null) {
				Button.Dispose ();
				Button = null;
			}
		}
	}

	[Register ("MainWindow")]
	partial class MainWindow
	{

		void ReleaseDesignerOutlets ()
		{
		}
	}
}
ボタンが押されたら、ラベルに「Hello World!!」と表示させます。MainWindowController.csを開いてください。

イベントハンドラの登録までデザイナーで出来ないかどうかについては、後日調べておきたいと思います。ここではコードで書くことにしましょう。MainWindowController.cs にボタンがクリックされた時の処理を書きます。
		public override void AwakeFromNib ()
		{
			base.AwakeFromNib ();

			Button.Activated += (sender, e) => {
				Label.StringValue = "Hell World!!";
			};
		}
MainWindowController.csの全体版は下記の通り。
using System;
using System.Collections.Generic;
using System.Linq;
using MonoMac.Foundation;
using MonoMac.AppKit;

namespace HelloWorld
{
	public partial class MainWindowController : MonoMac.AppKit.NSWindowController
	{
		#region Constructors

		// Called when created from unmanaged code
		public MainWindowController (IntPtr handle) : base (handle)
		{
			Initialize ();
		}

		// Called when created directly from a XIB file
		[Export ("initWithCoder:")]
		public MainWindowController (NSCoder coder) : base (coder)
		{
			Initialize ();
		}

		// Call to load from the XIB/NIB file
		public MainWindowController () : base ("MainWindow")
		{
			Initialize ();
		}

		// Shared initialization code
		void Initialize ()
		{
		}

		public override void AwakeFromNib ()
		{
			base.AwakeFromNib ();

			Button.Activated += (sender, e) => {
				Label.StringValue = "Hell World!!";
			};
		}

		#endregion

		//strongly typed window accessor
		public new MainWindow Window {
			get {
				return (MainWindow)base.Window;
			}
		}
	}
}
Xamarin Studioの左上に実行ボタンがあります。クリックしてみましょう。
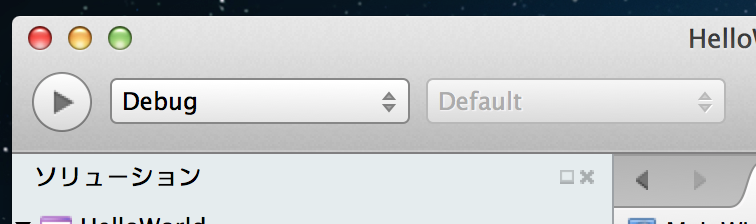
実行してみました。なんとC#で書いた(ほとんど何もしてないけど)アプリケーションがビルド後、起動しました!
Buttonボタンをクリックすると……
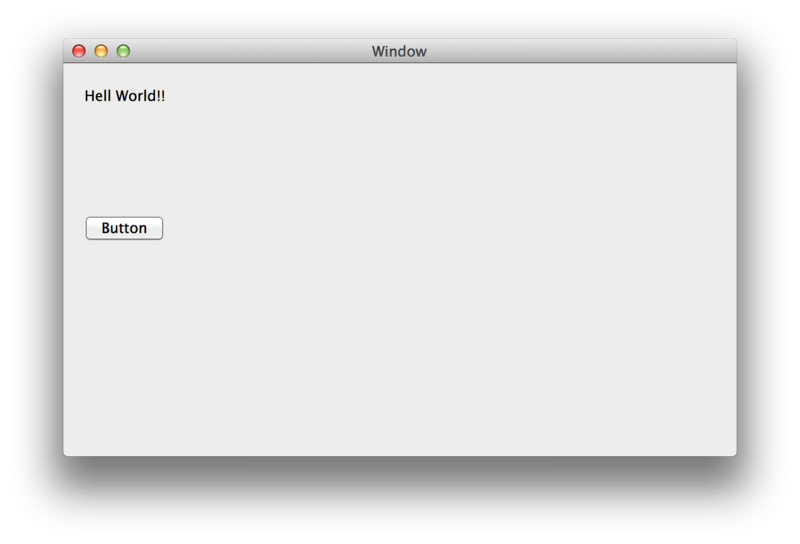
以上で、Xamarin.Macを使ったHell Worldアプリの作り方は終わりです。
追記
後から気付いたんですが、XamarinのサイトにまんまXamarin.Macを使ったHello Worldアプリ相当のチュートリアル「Hello, Mac – Walkthrough - Xamarin | Microsoft Learn」があるのに気付きました。