酢ろぐ!

カレーが嫌いなスマートフォンアプリプログラマのブログ。

Xamarin.FormsでZXingを使ってQRコード/バーコードを生成する

メモです。Xamarin.FormsでZXingを使ってQRコード/バーコードを生成しました。

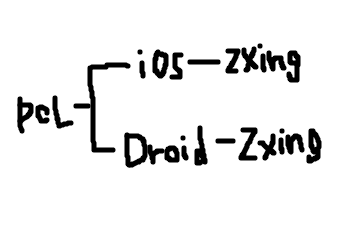
NugetにはZXing for Xamarin.Formsと書かれたものがあったのですが、どうもPCL側にライブラリを追加したらバーコードが生成できるというものではなかったみたいです。

今回、DependencyServiceを使ってみました。
f:id:ch3cooh393:20170110172416p:plain

ZXingをインストールする

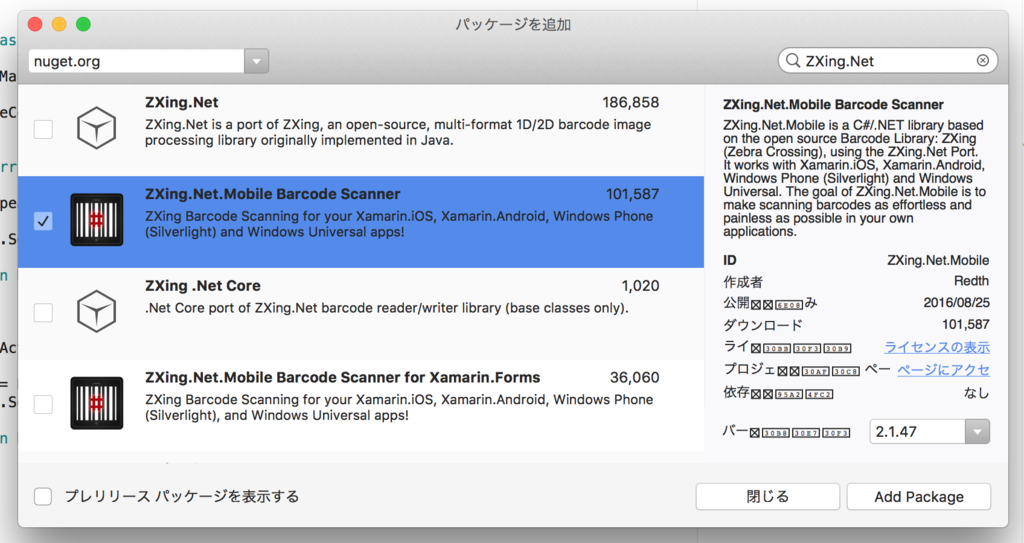
パッケージを追加します。

f:id:ch3cooh393:20170110165645p:plain

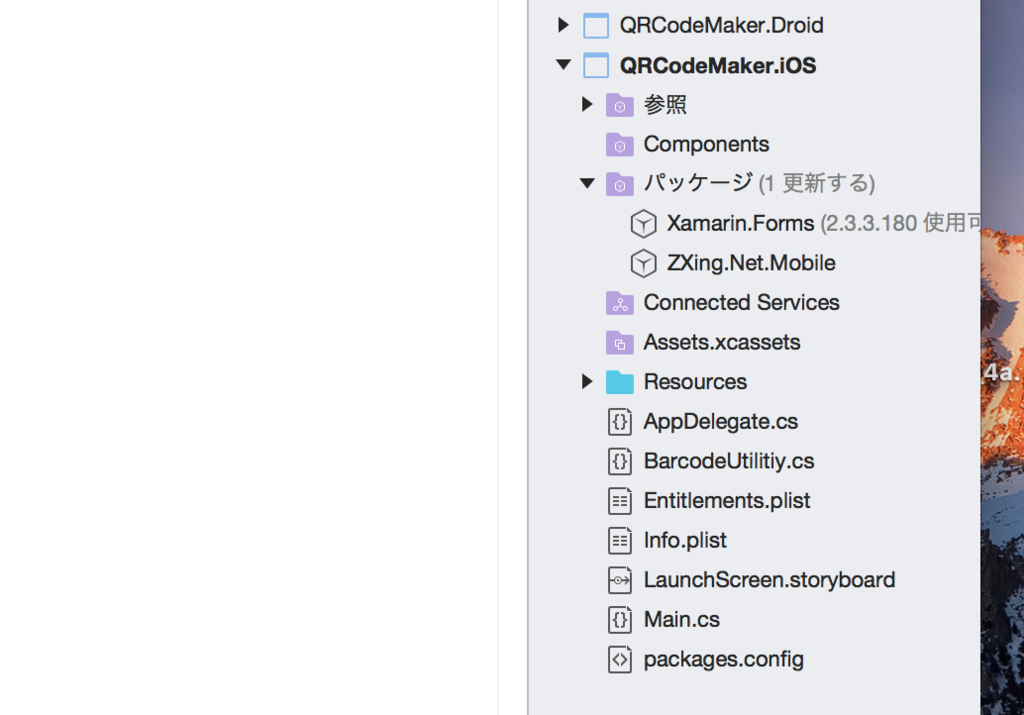
iOS側のプロジェクトのパッケージにZXing.Net.Mobileが追加されました。
f:id:ch3cooh393:20170110165517p:plain

QRコードを生成してImageに表示する

テキストからバーコードを生成する処理

IBarcodeUtilitiy.cs

QRCodeMaker(PCL側)にインターフェイスを定義しておきます。

using System.IO;

namespace QRCodeMaker
{
    public interface IBarcodeUtilitiy
    {
        Stream ConvertImageStream(string text, int width = 300, int height = 300);
    }
}

BarcodeUtilitiy.cs

iOSのプロジェクト側に実装します。

using System;
using System.IO;
using ZXing.Mobile;

[assembly: Xamarin.Forms.Dependency(typeof(QRCodeMaker.iOS.BarcodeUtilitiy))]
namespace QRCodeMaker.iOS
{
    public class BarcodeUtilitiy : IBarcodeUtilitiy
    {
        public Stream ConvertImageStream(string text, int width = 300, int height = 300)
        {
            var barcodeWriter = new BarcodeWriter
            {
                Format = ZXing.BarcodeFormat.QR_CODE,
                Options = new ZXing.Common.EncodingOptions
                {
                    Width = width,
                    Height = height,
                    Margin = 1
                }
            };
            barcodeWriter.Renderer = new BitmapRenderer();
            var bitmap = barcodeWriter.Write(text);
            var stream = bitmap.AsPNG().AsStream();
            stream.Position = 0;

            return stream;
        }
    }
}

これでPCL側のプロジェクトでは、DependencyService.Get<IBarcodeUtilitiy>().ConvertImageStream("test");でバーコードを生成することができます。

画面を表示する

QRCodeMakerPage.xaml

<?xml version="1.0" encoding="utf-8"?>
<ContentPage xmlns="http://xamarin.com/schemas/2014/forms" 
    xmlns:x="http://schemas.microsoft.com/winfx/2009/xaml" 
    xmlns:local="clr-namespace:QRCodeMaker" 
    x:Class="QRCodeMaker.QRCodeMakerPage">

    <ContentPage.Padding>
        <OnPlatform x:TypeArguments="Thickness"
            iOS="0,20,0,0" />
    </ContentPage.Padding>
    
    <StackLayout Orientation="Vertical">
        <Label Text="Welcome to Xamarin Forms!" 
            VerticalOptions="Center" 
            HorizontalOptions="Center" />

        <Button Text="Generate" Clicked="generateAction" />
        
        <Image x:Name="imageView" 
            BackgroundColor="Aqua"
            HeightRequest="300"
            WidthRequest="300" />
    </StackLayout>
</ContentPage>

QRCodeMakerPage.xaml.cs

using System;
using System.IO;
using Xamarin.Forms;

namespace QRCodeMaker
{
    public partial class QRCodeMakerPage : ContentPage
    {
        public QRCodeMakerPage()
        {
            InitializeComponent();
        }

        protected override void OnAppearing()
        {
            base.OnAppearing();

            imageView.Source = ImageSource.FromStream(() =>
            {
                return DependencyService.Get<IBarcodeUtilitiy>().ConvertImageStream("test");
            });
        }

        // ボタンが押される度にランダムなバーコードを生成する
        void generateAction(object sender, System.EventArgs e)
        {
            var text = DateTime.UtcNow.Ticks.ToString();
            imageView.Source = ImageSource.FromStream(() =>
            {
                return DependencyService.Get<IBarcodeUtilitiy>().ConvertImageStream(text);
            });
        }
    }
}

実行結果

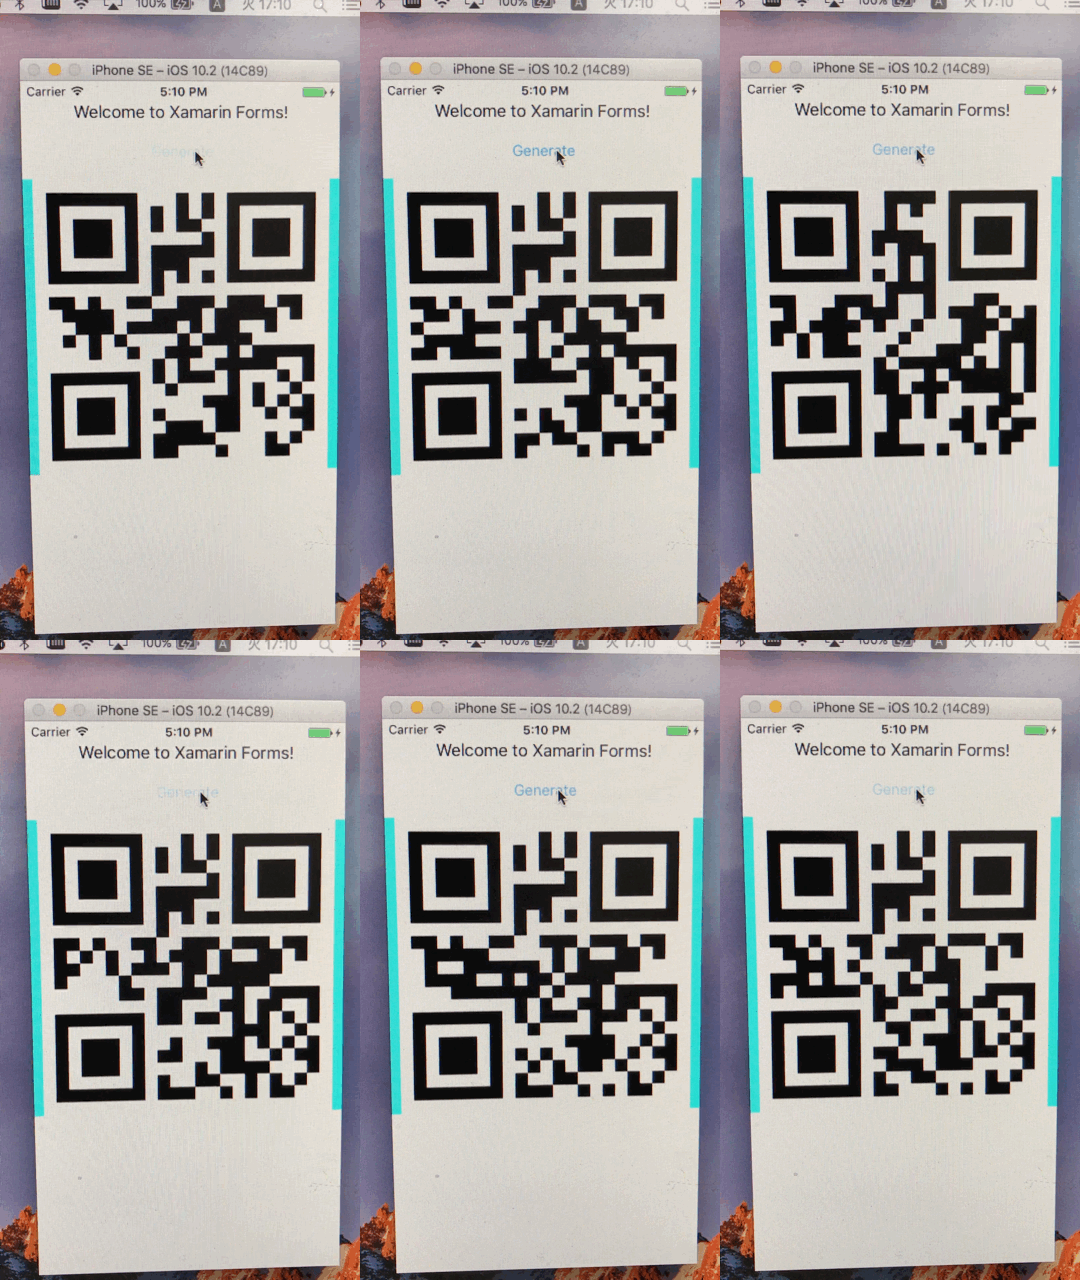
タップする度にバーコードを生成しています。
f:id:ch3cooh393:20170110171718g:plain

Xamarin.Formsでタブ表示させるためにTabbedPageを使う

メモです。この記事で作成したプロジェクトを流用しています。

タブ表示させる

MyTabbedPage.xamlを追加します。

MyTabbedPage.xaml

<?xml version="1.0" encoding="UTF-8"?>
<TabbedPage xmlns="http://xamarin.com/schemas/2014/forms" 
    xmlns:x="http://schemas.microsoft.com/winfx/2009/xaml"
    xmlns:local="clr-namespace:RealmSample"  
    x:Class="RealmSample.MyTabbedPage">

    <NavigationPage Title="tab1">
        <x:Arguments>
            <local:RealmSamplePage Title="page title"/>
        </x:Arguments>
    </NavigationPage>

</TabbedPage>

MyTabbedPage.xaml.cs

using Xamarin.Forms;

namespace RealmSample
{
    public partial class MyTabbedPage : TabbedPage
    {
        public MyTabbedPage()
        {
            InitializeComponent();
        }
    }
}

App.xaml.cs

using Xamarin.Forms;

namespace RealmSample
{
    public partial class App : Application
    {
        public App()
        {
            InitializeComponent();

            MainPage = new MyTabbedPage();
        }

        //...
    }
}

実行結果

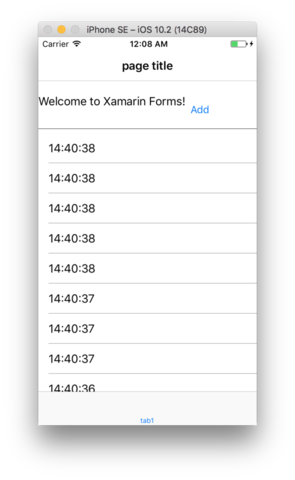
実行しました。

f:id:ch3cooh393:20170109000914p:plain

Xamarin.Formsで詳細ページへドリルダウンさせるNavigationPageを使う

メモです。この記事で作成したプロジェクトを流用しています。

ページナビゲーションをおこなう

ListViewの項目を選択すると詳細ページにドリルダウンさせたいです。

ナビゲーションページ(iOSでのいうところのUINavigationController、Xamarin.Formsではなんて呼ぶんだろう)に入れたい場合、App.xaml.csでこう実装しました。

using Xamarin.Forms;

namespace RealmSample
{
    public partial class App : Application
    {
        public App()
        {
            InitializeComponent();

            MainPage = new NavigationPage(new RealmSamplePage());
        }

        //...
    }
}

ページ側ではNavigation.PushAsyncを実行します。

using Xamarin.Forms;

namespace RealmSample
{
    public partial class RealmSamplePage : ContentPage
    {
        public RealmSamplePage()
        {
            InitializeComponent();

            //...

            listView.ItemSelected += (object sender, SelectedItemChangedEventArgs e) =>
            {
                this.Navigation.PushAsync(new DetailPage());
            };
        }

        void AddAction(object sender, System.EventArgs e)
        {
            //...
        }
    }
}

実行結果

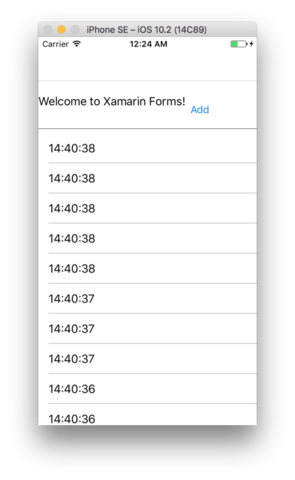
実行してみました。

f:id:ch3cooh393:20170109002522p:plain

Xamarin.FormsでRealm Xamarinを使ってみた

Xamarin.FormsでRealm Xamarinを使ってみました。

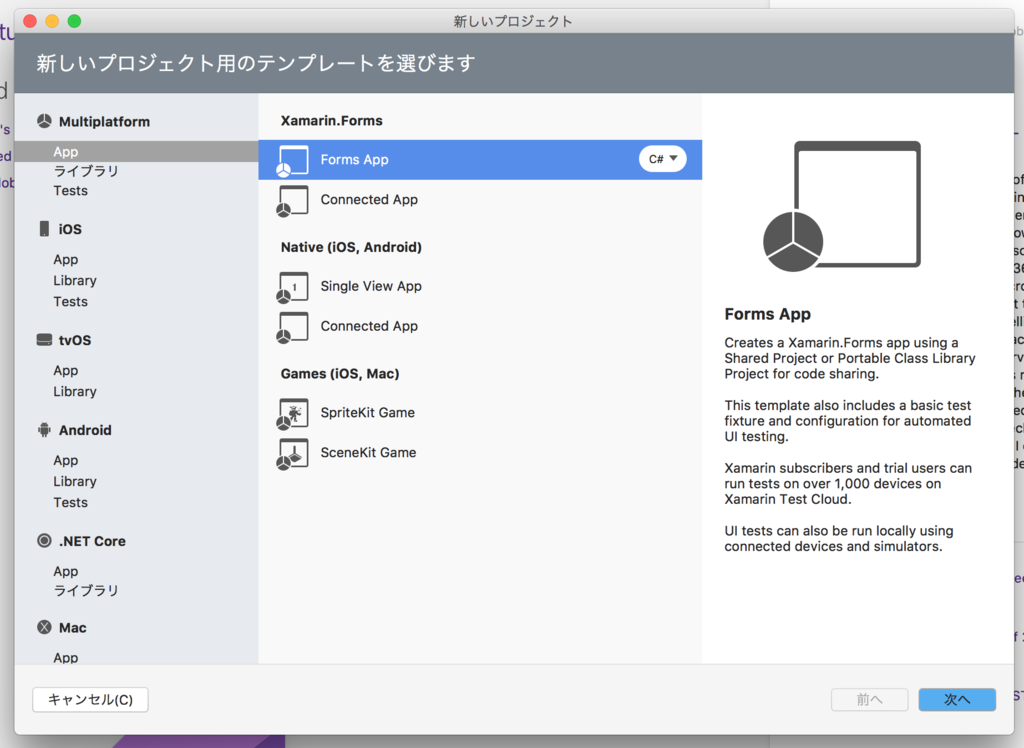
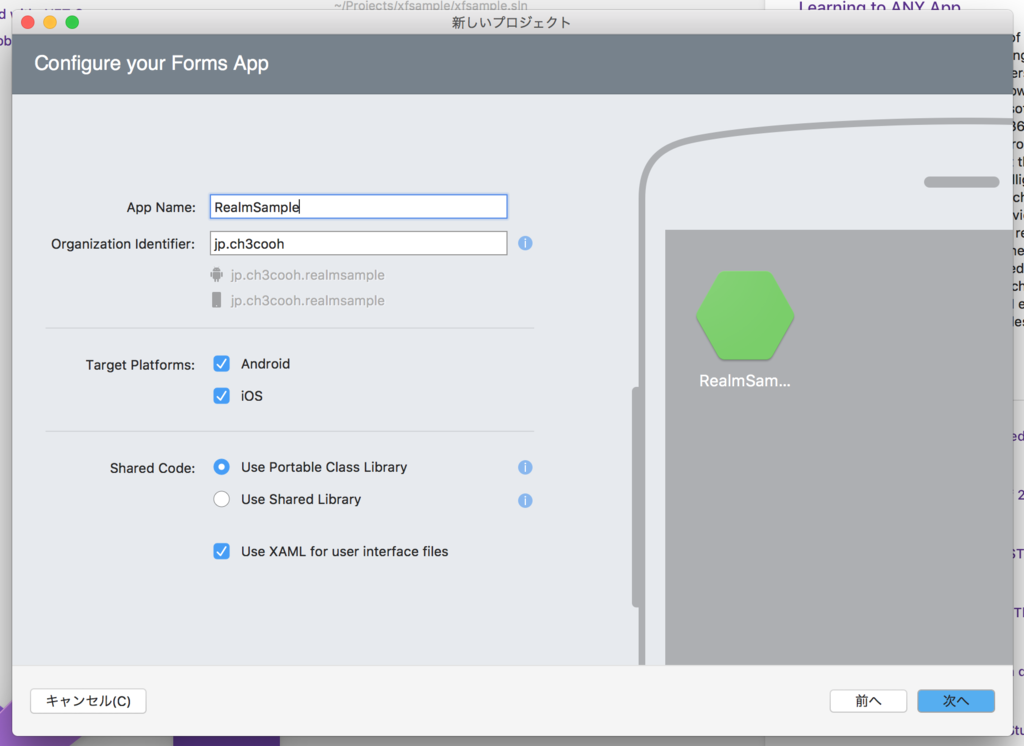
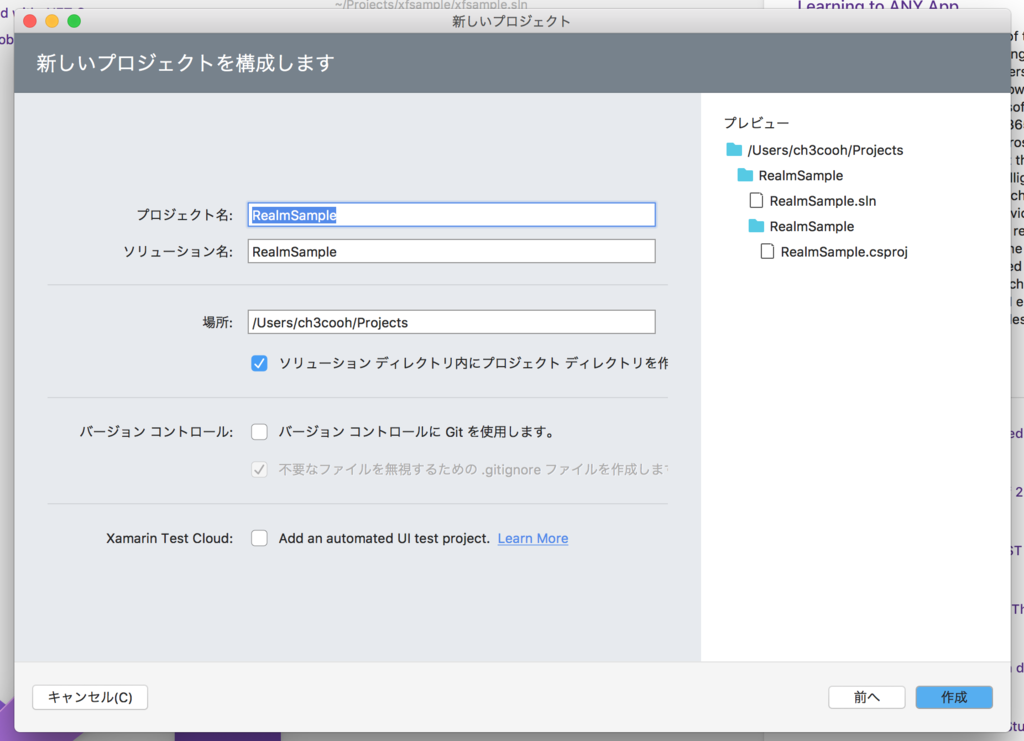
プロジェクトを作成する

適当にプロジェクトを作成します。

f:id:ch3cooh393:20170108224028p:plain

f:id:ch3cooh393:20170108224035p:plain

f:id:ch3cooh393:20170108224043p:plain

UIを整える

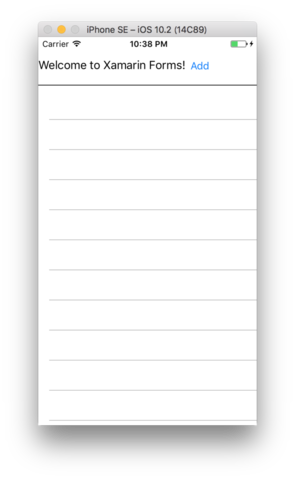
ボタンをタップされたら、押されたタイミングの時刻(時分秒)をRealmに登録して、さらにListViewに表示させたいと思います。

RealmSamplePage.xaml

<?xml version="1.0" encoding="utf-8"?>
<ContentPage xmlns="http://xamarin.com/schemas/2014/forms" 
    xmlns:x="http://schemas.microsoft.com/winfx/2009/xaml" 
    xmlns:local="clr-namespace:RealmSample" 
    x:Class="RealmSample.RealmSamplePage">

    <ContentPage.Padding>
        <OnPlatform x:TypeArguments="Thickness"
            iOS="0,20,0,0" />
    </ContentPage.Padding>
    
    <StackLayout Orientation="Vertical">
        <StackLayout Orientation="Horizontal">
            <Label Text="Welcome to Xamarin Forms!" />
            <Button Text="Add" Clicked="AddAction" />
        </StackLayout>
        <ContentView HeightRequest="1" BackgroundColor="Black" />

        <ListView x:Name="listView" />
        
    </StackLayout>
</ContentPage>

RealmSamplePage.xaml.cs

ボタンが押されたらAddActionが呼ばれます。

using Xamarin.Forms;

namespace RealmSample
{
    public partial class RealmSamplePage : ContentPage
    {
        public RealmSamplePage()
        {
            InitializeComponent();
        }

        void AddAction(object sender, System.EventArgs e)
        {
//         throw new NotImplementedException();
        }
    }
}

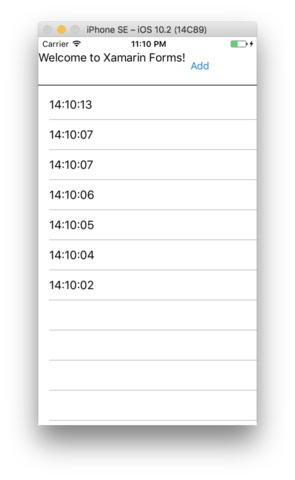
実行してみました。適当にこんな感じにしました。

f:id:ch3cooh393:20170108223850p:plain

Realm Xamarinをインストールする

Realmをインストールします。iOSのプロジェクトではPodfileに書いて、Androidのプロジェクトではgradleに追記してインストールしました。

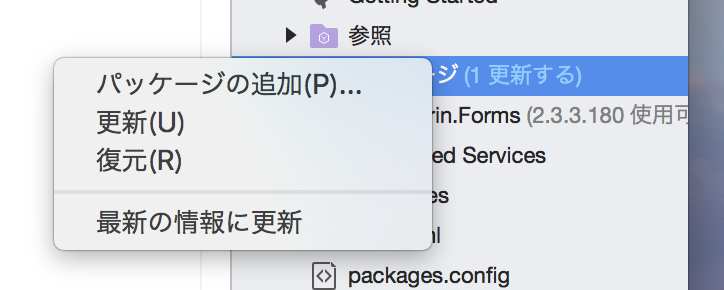
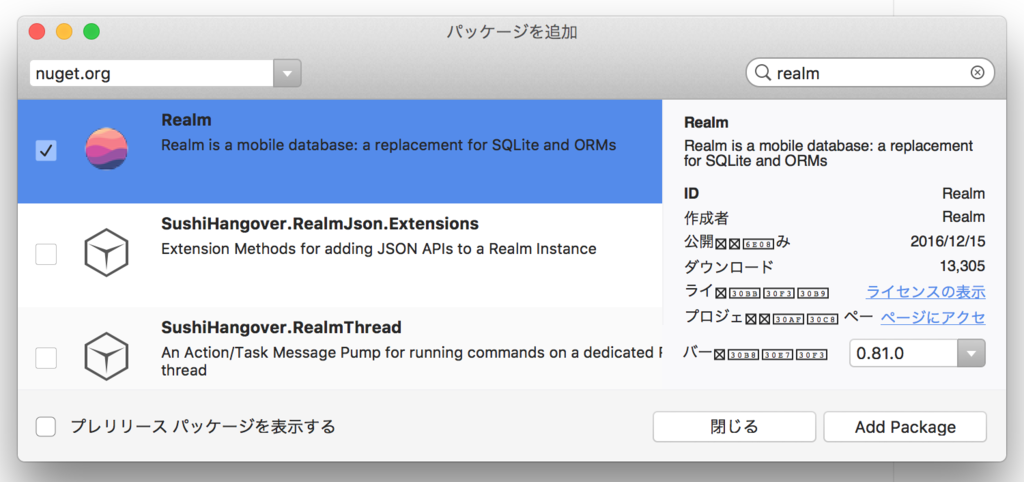
XamarinではNugetを使ってインストールします。

f:id:ch3cooh393:20170108231912p:plain

f:id:ch3cooh393:20170108231917p:plain

[Add Package]ボタンをクリックしてインストールします。

PCL側だけではなく、RealmSample.DroidとRealmSample.iOSのプラットフォームにもパッケージを追加しておきます。

Itemクラスを作る

Realmのデータベースに格納するオブジェクトのクラスを作成します。

なんでも良いのですがここではItemクラスを作成しました。TimeStringにボタンをクリックした時刻を格納しようと思います。

using System;
using Realms;

namespace RealmSample
{
    public class Item : RealmObject
    {
        public string TimeString { get; set; }
    }
}

RealmSamplePage.xaml.cs

ボタンが押されるとAddActionメソッドが実行されます。このメソッドの中でRealmへの追加とListViewのデータソースの追加を行いました。

using Xamarin.Forms;
using Realms;
using System.Collections.ObjectModel;
using System;
using System.Linq;

namespace RealmSample
{
    public partial class RealmSamplePage : ContentPage
    {
        ObservableCollection<string> items = new ObservableCollection<string>();

        public RealmSamplePage()
        {
            InitializeComponent();

            listView.ItemsSource = items;
        }

        void AddAction(object sender, System.EventArgs e)
        {
            var time = DateTime.UtcNow.ToString("HH:mm:ss");

            // RealmにItemオブジェクトを追加する
            var realm = Realm.GetInstance();
            realm.Write(() =>
            {
                realm.Add(new Item { TimeString = time });
            });

            // ListViewの先頭にも時刻を表示させる
            items.Insert(0, time);
        }
    }
}

一度アプリをkillして、再度立ち上げると今までRealmに追加したはずのデータが表示されていません。PageのコンストラクタでRealmからItemオブジェクトを取り出してListViewに表示されるようにしました。

using Xamarin.Forms;
using Realms;
using System.Collections.ObjectModel;
using System;
using System.Linq;

namespace RealmSample
{
    public partial class RealmSamplePage : ContentPage
    {
        ObservableCollection<string> items = new ObservableCollection<string>();

        public RealmSamplePage()
        {
            InitializeComponent();

            // Realmから登録されたItemオブジェクトを取り出してソートする
            var realm = Realm.GetInstance();
            var allItems = realm.All<Item>().OrderByDescending((arg) => arg.TimeString);

            // データソースに時刻を追加する
            foreach (var i in allItems)
            {
                items.Add(i.TimeString);
            }
            listView.ItemsSource = items;
        }

        void AddAction(object sender, System.EventArgs e)
        {
            // RealmにItemオブジェクトを追加する
            var realm = Realm.GetInstance();
            realm.Write(() =>
            {
                realm.Add(new Item { TimeString = time });
            });

            // ListViewの先頭にも時刻を表示させる
            items.Insert(0, time);
        }
    }
}

f:id:ch3cooh393:20170108231042p:plain

トラブルシューティング

このボタンを押すとItemを追加するだけのサンプルアプリを書いている時にもいくつか問題が発生しました。

実行時に例外が発生してしまう

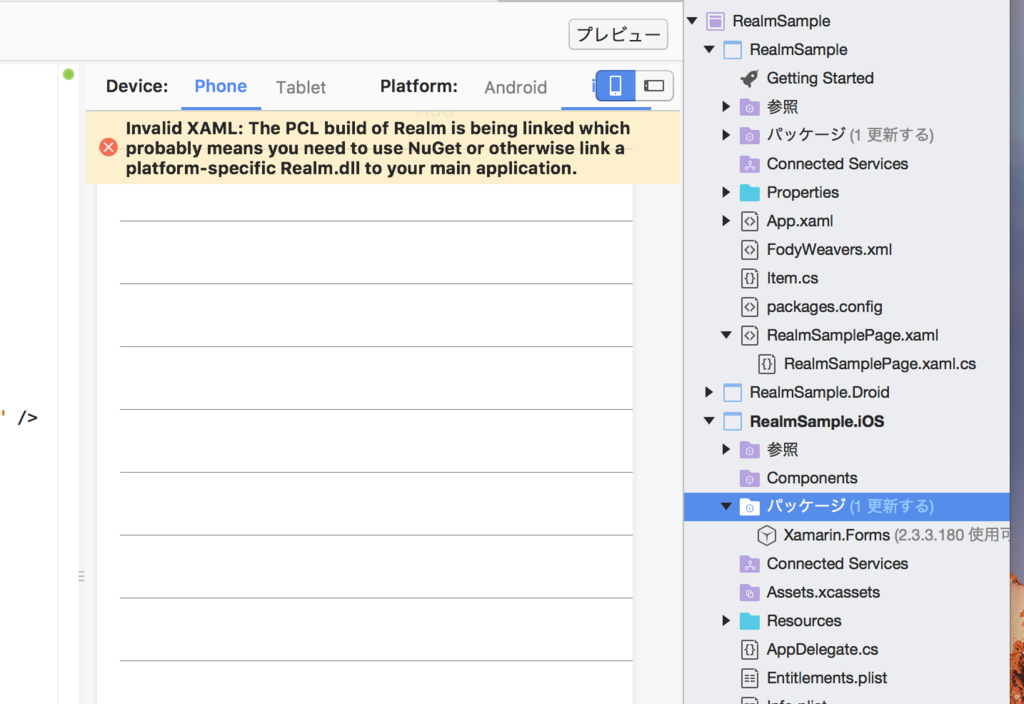
RealmSamplePageのコンストラクタにvar realm = Realm.GetInstance();の1行を追加すると、実行時に例外が発生してしまいました。

f:id:ch3cooh393:20170108225351p:plain

System.IO.FileNotFoundExceptionがスルーされました
Could not load file or assembly 'Realm, Version=0.81.0.0, Culture=neutral, PublicKeyToken=null' or one of its dependencies.

実行するプラットフォーム(この場合はRealmSample.iOS)のパッケージにもRealmをインストールする必要がありました。

f:id:ch3cooh393:20170108225404p:plain

Xamarin.Macでローカル通知をおこなう

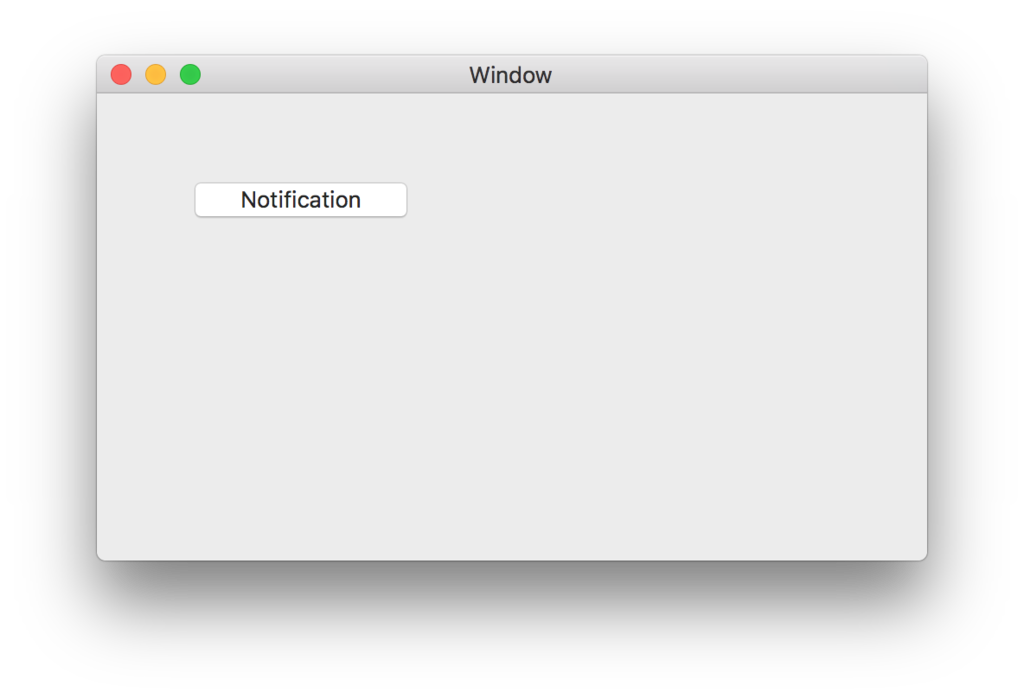
Xamarin.Macでローカル通知をおこないます。 コードを全て掲載すると冗長になってしまうのでgistへアップロードしておきました。

partial void buttonAction(NSObject sender)
{
    var dc = NSUserNotificationCenter.DefaultUserNotificationCenter;
    dc.Delegate = new UserNotificationCenterDelegate();

    var keys = new [] { "url" };
    var values = new object[] { "https://blog.ch3cooh.jp/" };
    var userInfo = NSDictionary.FromObjectsAndKeys(values, keys);

    var notification = new NSUserNotification();
    notification.Title = "タイトル";
    notification.Subtitle = "サブタイトル";
    notification.InformativeText = "本文";
    notification.UserInfo = userInfo;

    dc.DeliverNotification(notification);
}

class UserNotificationCenterDelegate : NSUserNotificationCenterDelegate
{
    public override void DidActivateNotification(
        NSUserNotificationCenter center, NSUserNotification notification)
    {
        //通知センターで該当の通知をタップした時の処理
    }
}

ボタンをタップするとbuttonActionが実行されて、通知センターへ通知をおこないます。

通知センターには下図のように通知が表示されます。

通知をタップして特定の処理を実行する

通知をタップして特定の処理を実行させることができます。

例えば、ユーザーが通知をタップするとブラウザを起動させる場合には、下記のように書くことができます。

class UserNotificationCenterDelegate : NSUserNotificationCenterDelegate
{
    public override void DidActivateNotification(NSUserNotificationCenter center, NSUserNotification notification)
    {
        var urlString = notification.UserInfo?["url"] as NSString;
        if (urlString != null)
        {
            var url = new NSUrl(urlString);
            NSWorkspace.SharedWorkspace.OpenUrl(url);
        }
    }
}

Visual Studio for Mac Previewをインストールしました

Connect();のキーノートで、「Visual Studio for Mac Preview」が発表されました。

Xamarin Blog - An open source mobile platform for building Android, iOS, macOS, watchOS, and tvOS apps with .NET.

早速、自分のMBPにVisual Studio for Mac Previewをインストールしたいと思います。

VS for Macをインストールする

Visual Studio for Mac 7.0.0.334は、https://aka.ms/vs/mac/preview1/y2odn5 からダウンロードすることができます。

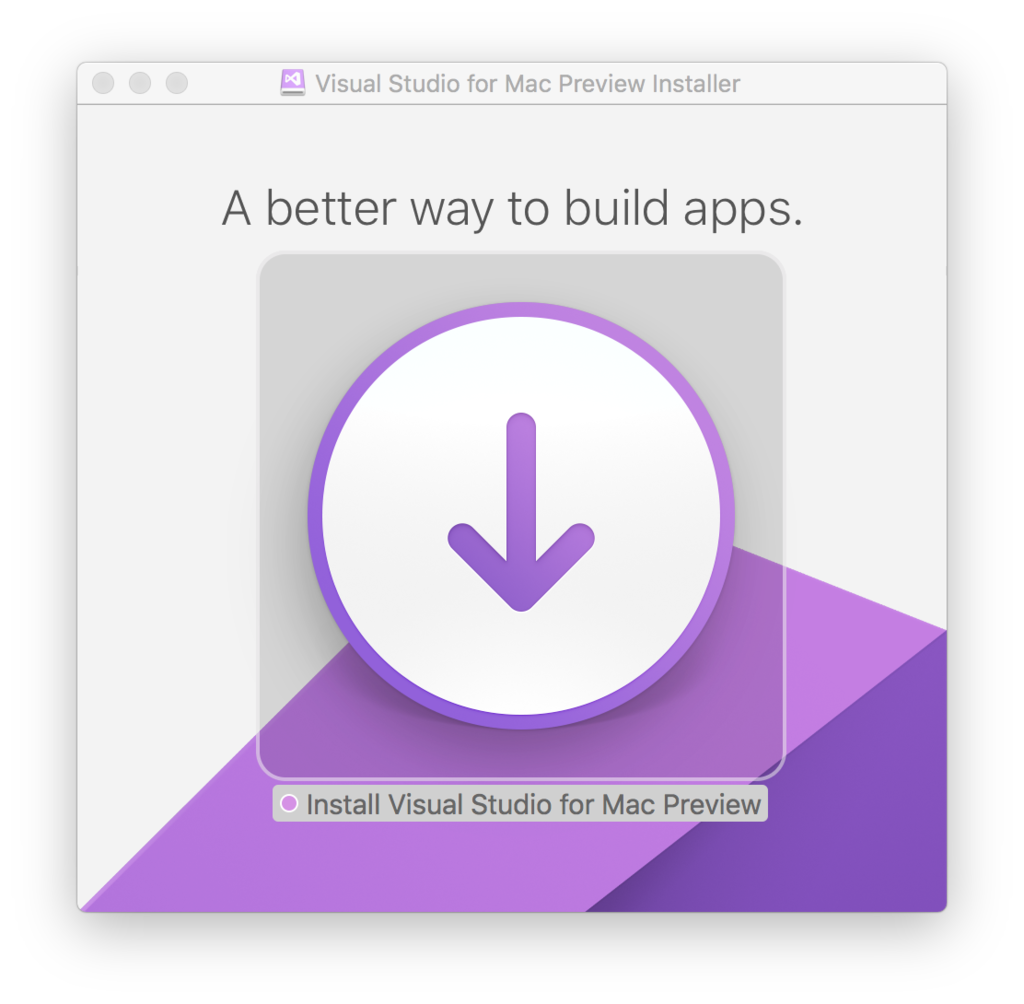
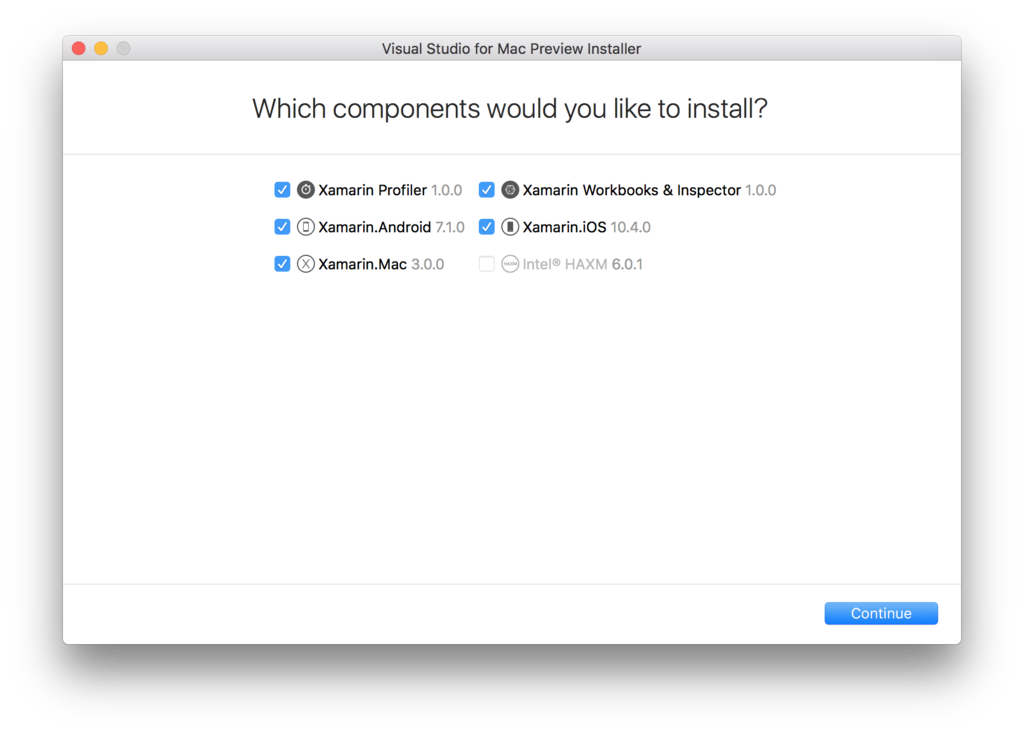
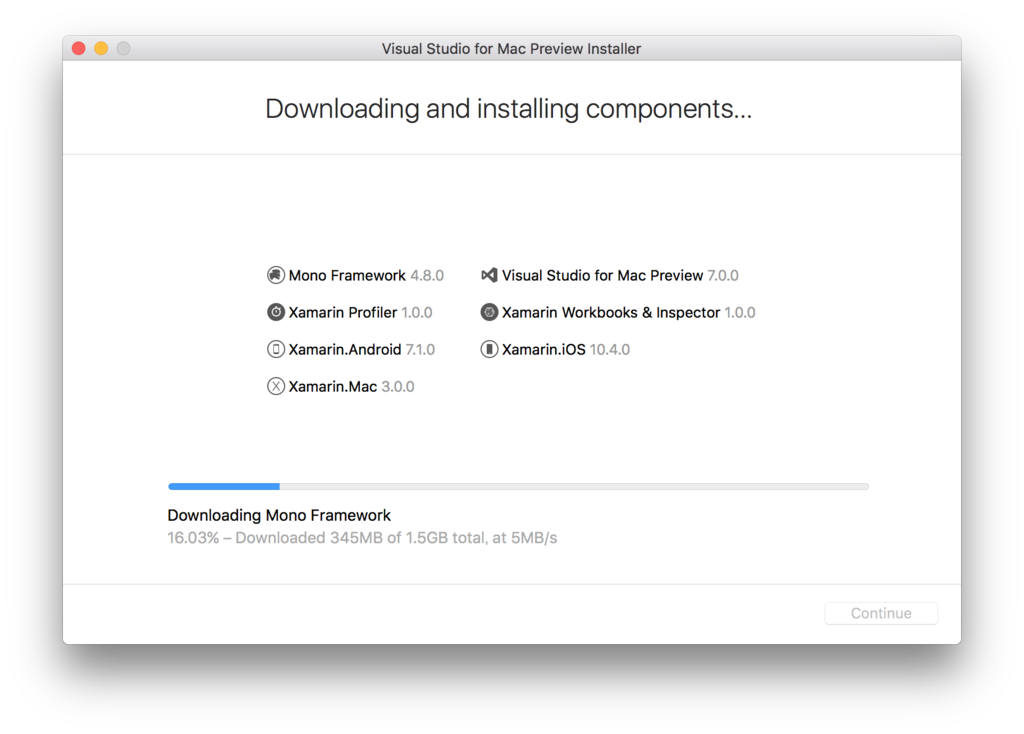
VisualStudioforMacPreviewInstaller.dmgがダウンロードされると思います。早速インストールしていきましょう。

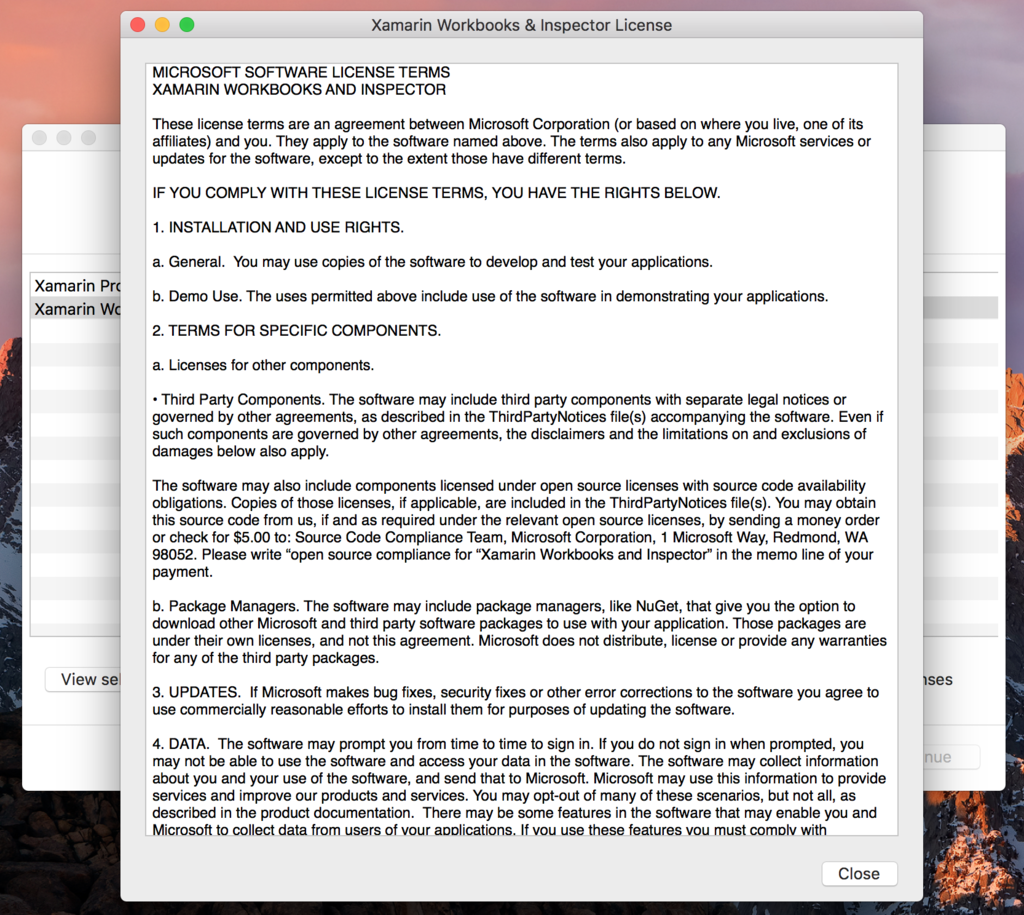
実際にインストールを開始する前にソフトウェアライセンスの掲示があります。

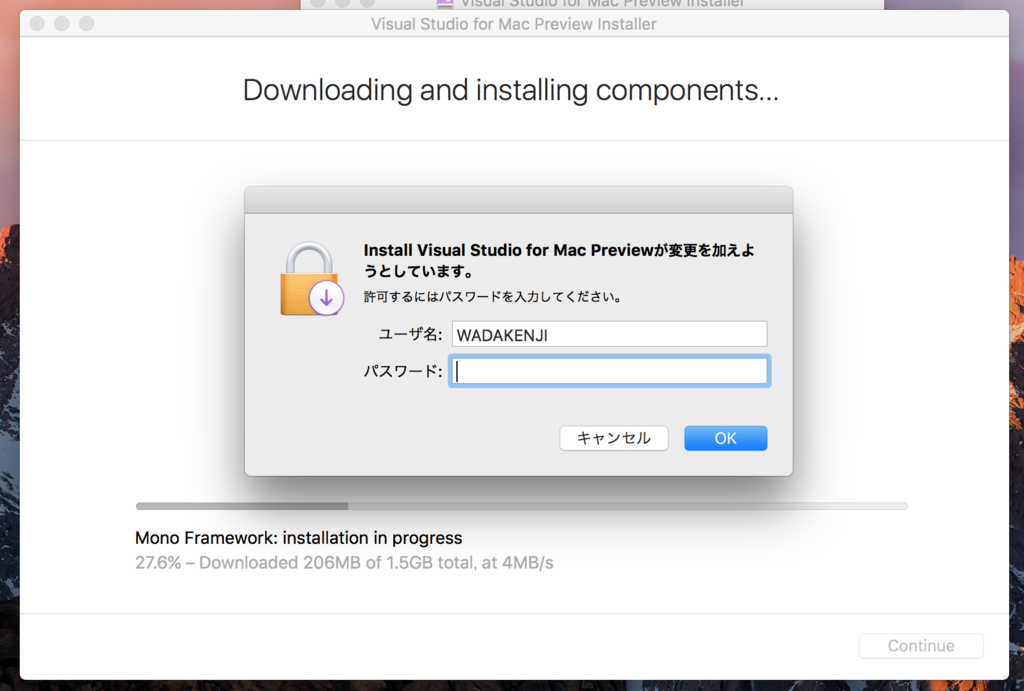
インストール中にパスワードを求められます。

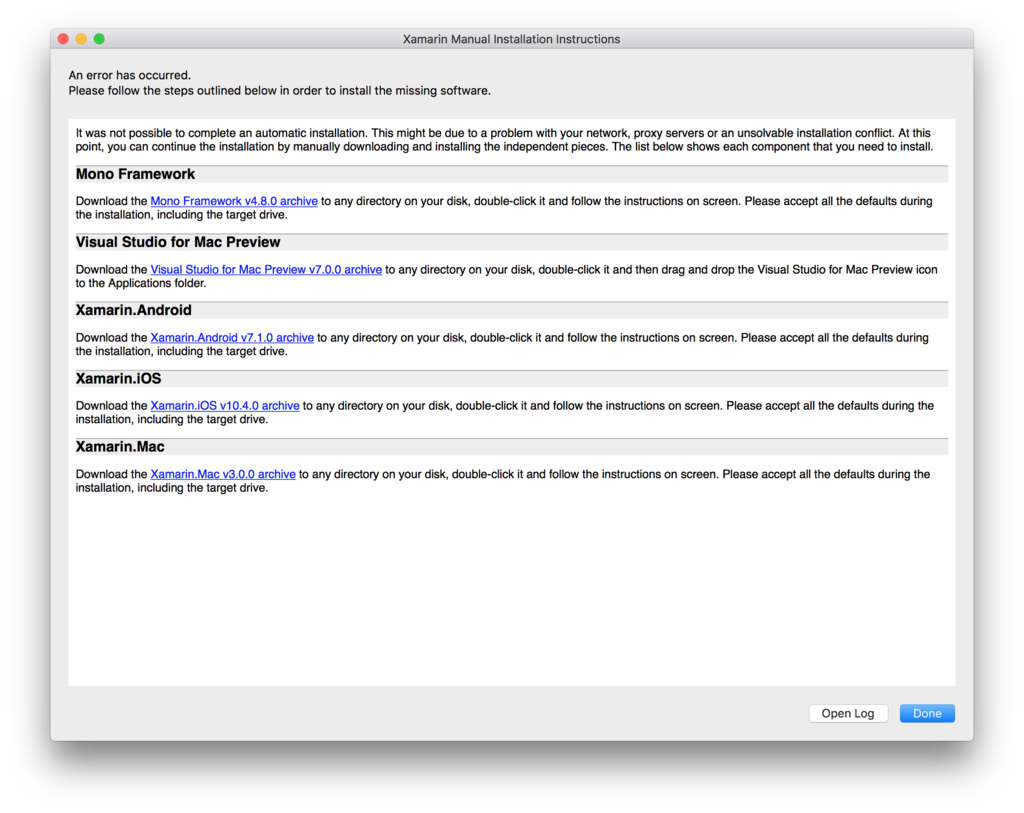
しばらくするとエラーが発生した旨が表示されます。

Visual Studio for Macと

Xamarin Studioをアンインストールする

Xamarin Studioをアンインストールしました。

developer.xamarin.com

手作業でひとつひとつアンインストールしていくのは少し面倒くさいので、Uninstall Scriptを使うのが楽かもしれません。

追記:Visual Studio for MacとXamarin Studioは共存できる

インストール時にエラーが出た時にXamarin StudioとXamarin Studio (Old)がインストールされていたので、てっきりVS for MacとXSは共存できないものだと思って、XSをアンインストールしました。

あとから知った話によるとVSとXSは共存できるようです。

ネットワーク不調が原因じゃないか?とも教えてもらいました。

競合が原因だと思ったのでログちゃんとみてなかったなぁと思いました。

Visual Studio for Macのインストールにリトライする

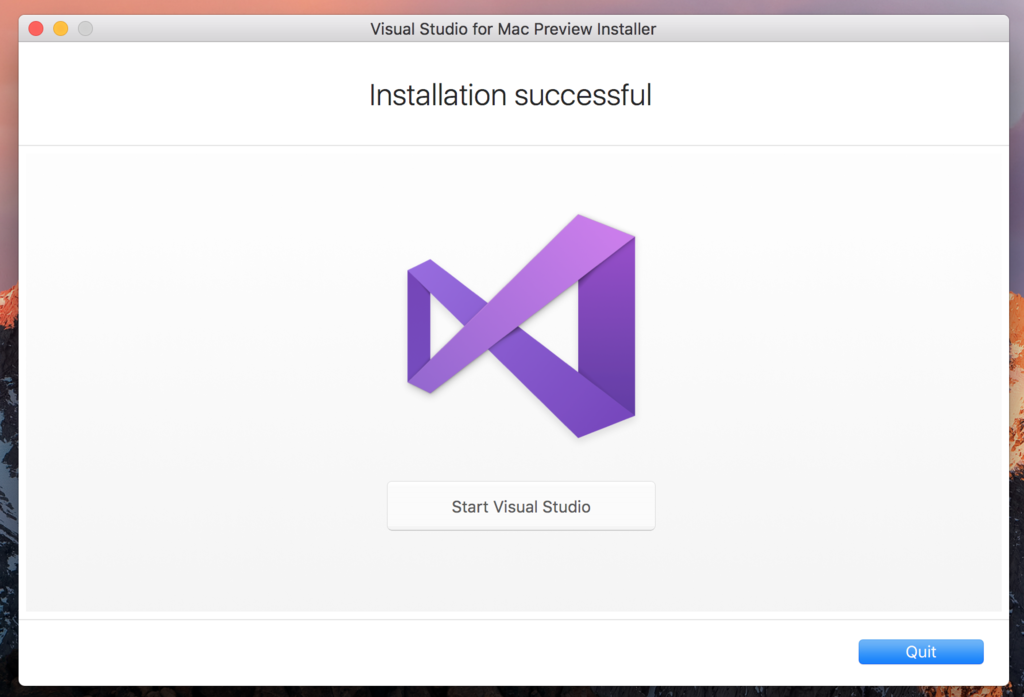
インストールできました。

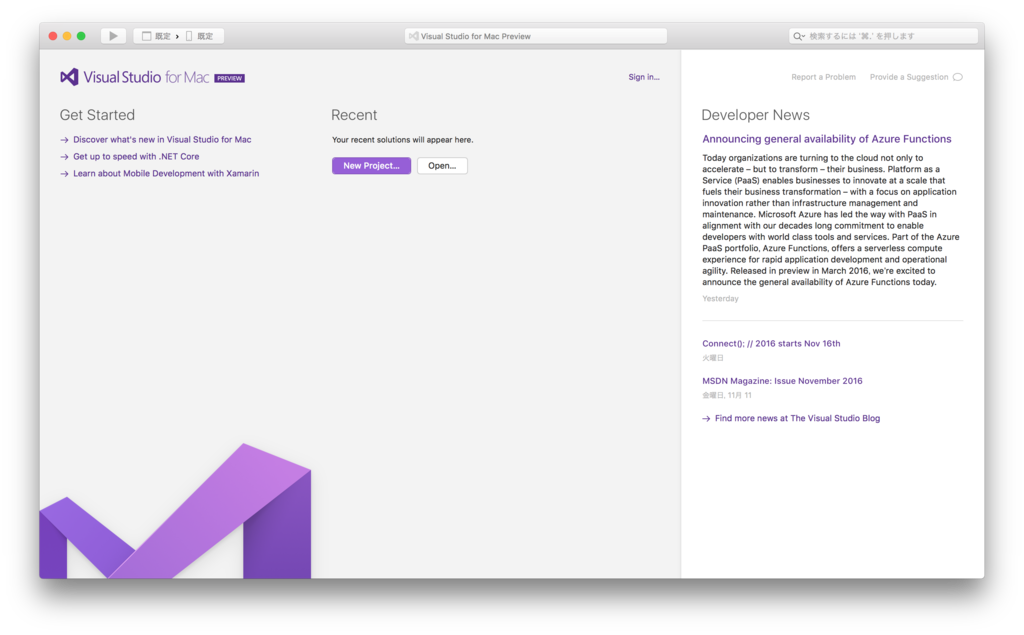
Visual Studio for Macを起動しました。お、綺麗。

少し時間ができたのでVS for MacでXamarin.Formsを使ったアプリを作っていきたいなぁ、と思っています。

XcodeのiOS Simulatorを単独で起動させる

開発環境やCocoaPodsの関係でiOS 7のサポートが切れると嬉しいなと考えています。

XcodeのiOSシミュレータは、単独で起動させることができます。

$ cd /Applications/Xcode.app/Contents/Developer/Applications
$ open ./iOS\ Simulator.app

または

$ open /Applications/Xcode.app/Contents/Developer/Applications/iOS\ Simulator.app

Xcode 6.4付属のiOS Simulatorを単独で起動させる

複数のXcodeを共存させることが可能です。「xcodebuildを使った自動化の記事」でも書いた方法でXcode 6.4に切り替えます。

$ export DEVELOPER_DIR=/Applications/Xcode6.4.app
$ xcodebuild -version
Xcode 6.4
Build version 6E35b

切り替えた状態でiOSシミュレータを起動させます。

$ cd /Applications/Xcode6.4.app/Contents/Developer/Applications
$ open ./iOS\ Simulator.app

または

$ open /Applications/Xcode6.4.app/Contents/Developer/Applications/iOS\ Simulator.app

ちなみにEl CapitanだとiOS 7.1シミュレータを起動できません。具体的に書くとシミュレータそのものは起動するんだけど画面が真っ黒いままになってしまいます。iOS 8.1シミュレータは正常に起動しました。